
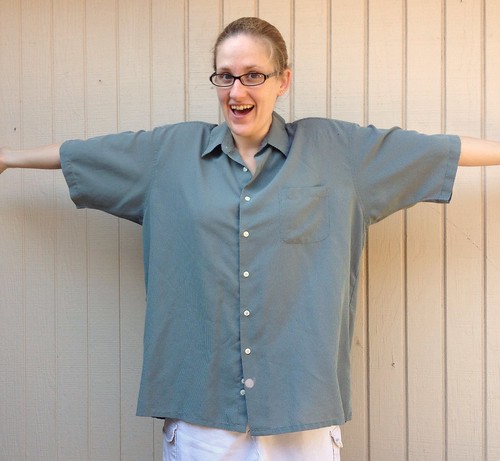
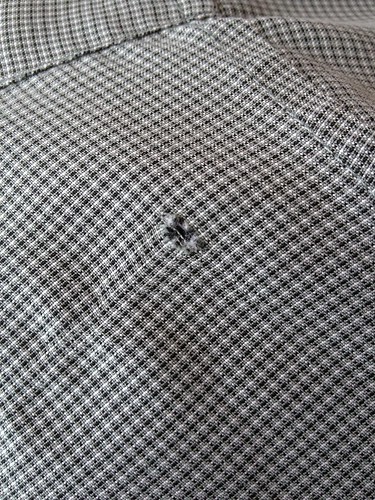
I look so excited about the refashion possibilities, don't I? I mean, just look at all that fabric! Certainly I could work around the bleach stains and holes and come out with a lovely feminine garment in the end. Right? Right?
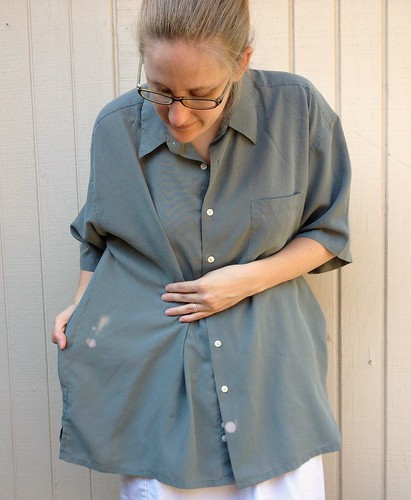
My vision was another Sorbetto-esque sleeveless top with the original buttons down the back. In my head it was fantastic. Simple, elegant, versatile. Unfortunately, it didn't really pan out. I guess this fabric just doesn't drape the same way as my first polka-dotted Sorbetto. It looks totally fine if I arrange it just so and stand still all day.

But if I move at all, that center pleats pops out and makes me look like I'm hiding a baby bump.
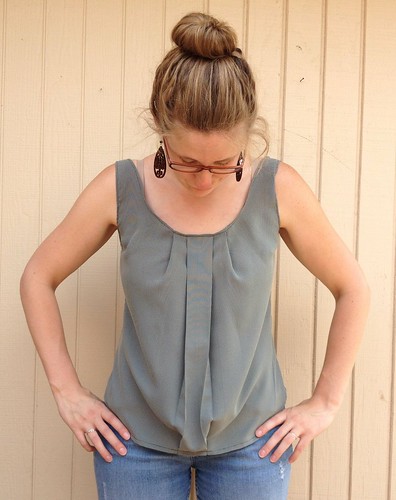

I'm really digging the buttons down the back though, so I would love to salvage this project if possible.

What do you think I should do?
(a) I could try to sew the inner folds of the center pleat together on the inside (if that makes sense) to hold the pleat in place.
(b) I could nix the pleats, cut a chunk out of the middle, and have a seam straight down the center of my shirt.
(c) I could cut it apart again and use the pieces to make something completely different. I still have the original sleeves untouched as well.
(d) I could toss the whole thing in the garbage and pretend it never happened.
(e) You got something better?
For more details and pics of the whole painful process, click on over to CarissaKnits!
12 comments:
You have done a great job with this upcycled top from a men's shirt. Therefore it seems such a shame to discard it.
I would sew the middle panel down and maybe embellish it with some ripped edged stips of fabric slightly gathered for a less stuctured look.
Thank you for sharing as we can all learn from it.
Karen from Facebook Group Melton Bowerbirds, a group dedicated to upcycling.
...narrow strips of black ribbon tacking down each side of the pleat?
I think your stationary top looks great, so definitely keep the pleats. Instead of sewing them down, get some (I know this is the wrong term but I can't think what it's called!) double-sided interfacing. It's fusible on both sides and used in applique. It's just glue, so shouldn't add bulk or take away from the drape. Damn, I wish I could remember what it's called!
Ok. Brain working again. It's called fusible web. You'd probably only need to use it near the crease.
I would baste the central front pleat down and see how it looks,then sew it so or add some ribbon/embellishment in the middle or over the pleat sides
I think you should undo the hemming at the bottom and let the pleat hang free!
I like the last suggestion!
But I was going to say that often in fashion/design world, the inside crease of the pleat fold is stitched together about 1/2cm - like a permanent tuck, but inside. It sort of holds the pleat shape better.
If you meant stitching the two inside folds to one another, I would just do a couple tacks, rather than the whole length. It would still give you some movement.
I hope you show the resulting choice!
Also, next time you could add just about 1cm to the back pattern (on both sides) near the hip line. If you look at the side view, you can see the seam line pulls back just there. This is pulling the front apart a bit to go over your hips, which in turn causes the pouch just above that line. If you give a little more room at the back, it should let the front hang as designed.
Sorry for the length of reply! Sewing tutor coming out in me!
Sandy in the UK
Funny, I was thinking of a) before you mentioned it! I would think that that should work just fine. Other that that, it looks great!
I was thinking take the stitches at the bottom hem out and then tuck it in at the waist a bit. Very cute.
I was thinking like Sarah Vine above, then I thought that another idea could be to sew down the pleat like you did at the bottom, but under the bust, take off the part under the bust in the front, take it in, and sew it back on. Then you could maybe add a panel going across under the bust to cover where they're sewn together. But that's more of a pain in the butt. Just unsewing the bottom would be a lot easier, though if the fabric doesn't hang well, that might not work so well. Good luck! I do love this style of pleating at the top! That part looks great! :) Lisa
I love the back too! I think it's totally salvageable and the other commentors have some good ideas.
If it were my shirt, I'd probably sew the inner folds together.
I say a) sew the pleats together on the inside. If it doesn't work, then cut down the middle and have a front seam. I hope you manage to fix it.
Adele - EOD
Post a Comment